Warning: I actually have a M. Sc. in Mechatronics Engineering, so I actually know what I am doing here. Unless you have the kind of qualification or education that has instilled a primal fear of Li-Po batteries deep in your soul, you should NOT do this kind of work.
A couple weeks ago, I bought an electric lighter. It has a USB-C charging port. When you press a button on the side, it creates two sparks in an X shape. It’s really nifty. Yet, to my dismay, it stopped working recently. I decided to open it up and poke around.
Maybe I can fix it?
It is held together by a small screw at the bottom. I took it out with a thin screwdriver and the internals slid out without any resistance.
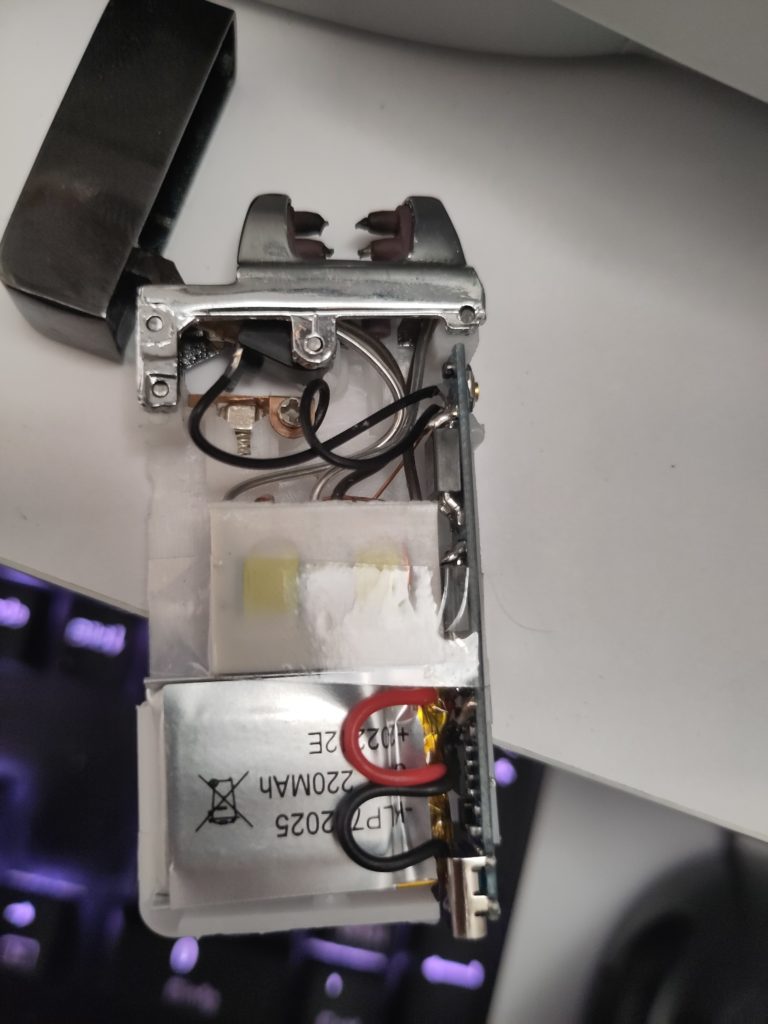
The silver-colored thing at the bottom is a Li-Po cell. If you mistreat it, it will rain fire and brimstone all over your desk (This is a deep-seated fear that I have).
The white box in the middle should be a switch and/or relay. It probably regulates the alternating rhythm of the crossed sparks so that they don’t interfere with each other (This is a guess).
The flow of energy in nature always follows the path of least resistance. If we tried to strike sparks at the same time, they would appear between the leads on the same (short) side because they are closer to each other and offer less resistance. If we are to strike a diagonal spark, the neighbouring leads must be neutral.
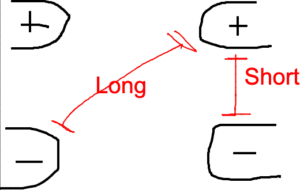

To get crossed sparks, we need to turn the leads on and off very rapidly. A frequency slightly more than 24 Hz is probably ok. Even if the sparks don’t coexist, human vision will make them appear. If the frequency is high enough that the leads turn off and on again before the spark collapses, you could have concurrent sparks.
The black plastic things on the right hand side are integrated circuits. The one near the battery must be the charge controller for the battery, the other two must be amplifiers for the spark plugs (This is an educated guess; I have seen similar PCB boards before.)
The weird contraption upper left hand side with the spring and copper plate? I have no idea.
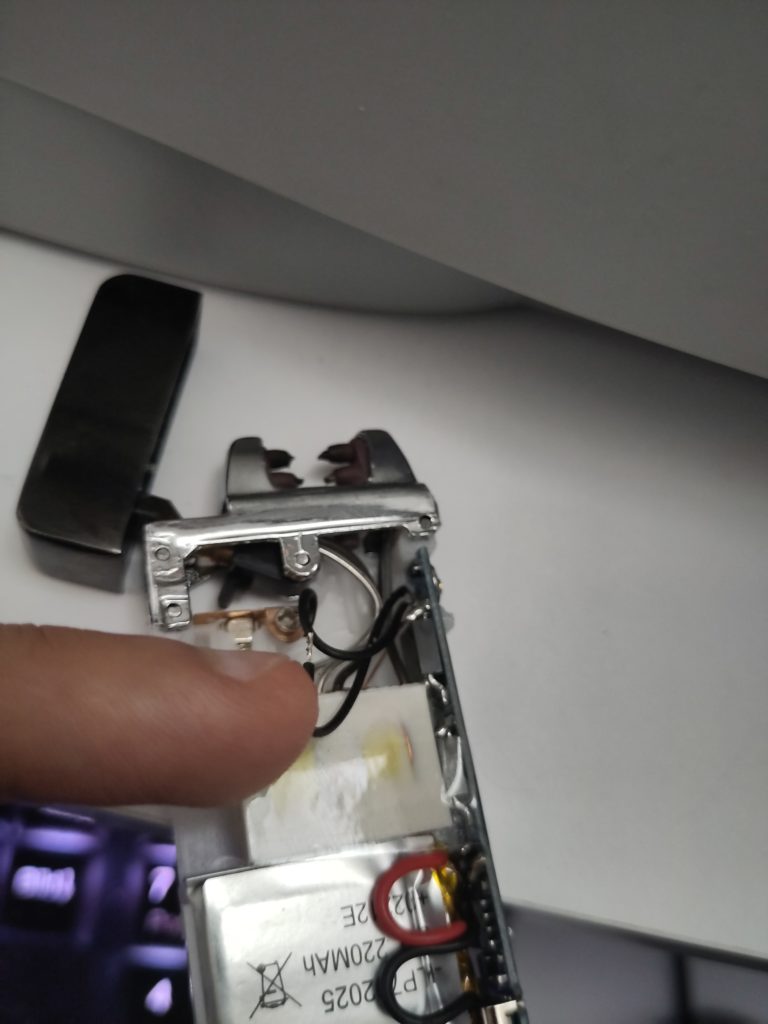
As you can see, there is a cable that isn’t connected anywhere else. A first principle in electrical design is the necessity of connecting cables unless they are supposed to be RF antennas. And it has some solder smeared at the end so it must have been attached somewhere before. There is a cable of the same gauge connected to the contraption, and the contraption does not seem to connect to anything else. I assume that the cable is supposed be attached to the contraption somehow.
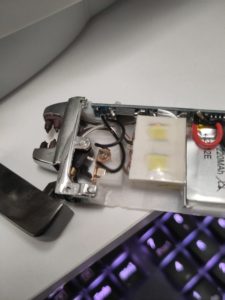
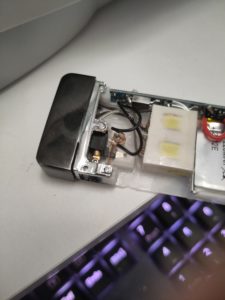
You see… if I shut off the cover, that black lever pushes the spring of the contraption inside and breaks a possible electrical contact. It could be a security feature to prevent the thing from going off in your pocket. I am now convinced that I need to connect the floating cable to the contraption.
It worked when I touched the copper plate with the floating cable and pressed the button. I can’t show you a video because I don’t have enough hands to record it at the same time. Through trial and error, I found a possible solution to follow.
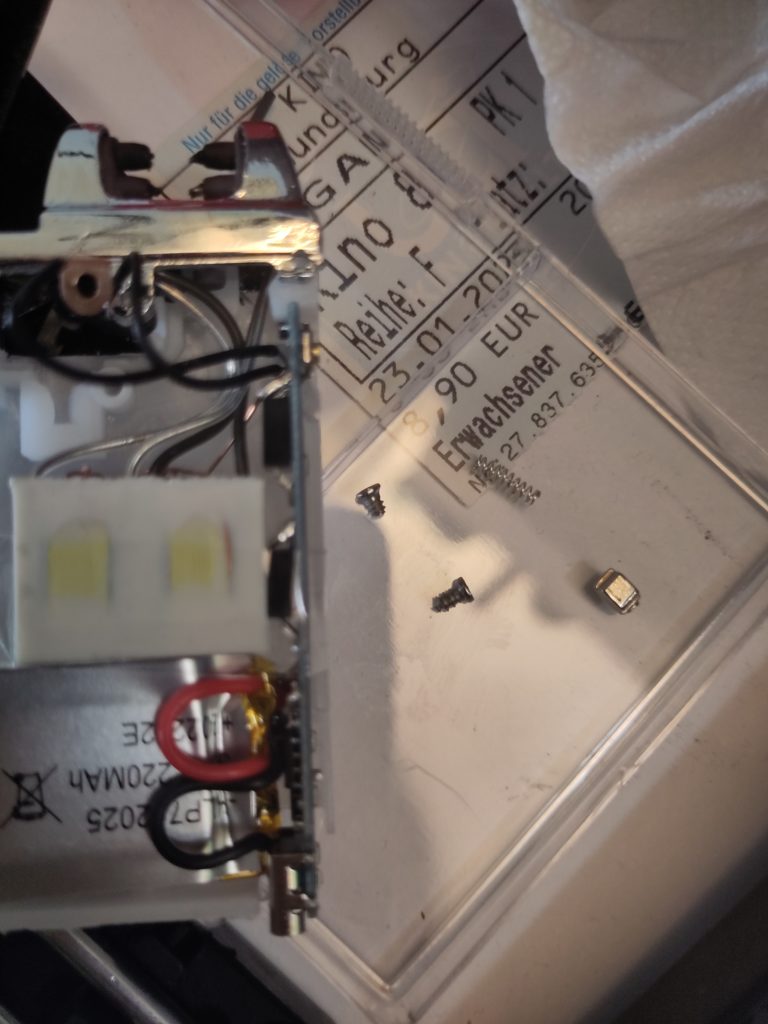
I was feeling especially daring, so I took apart the contraption to figure out where the cable was originally attached. There is a screw to hold the copper plate in place, a spring, and a piston head to make sure that spring moves in only one direction.
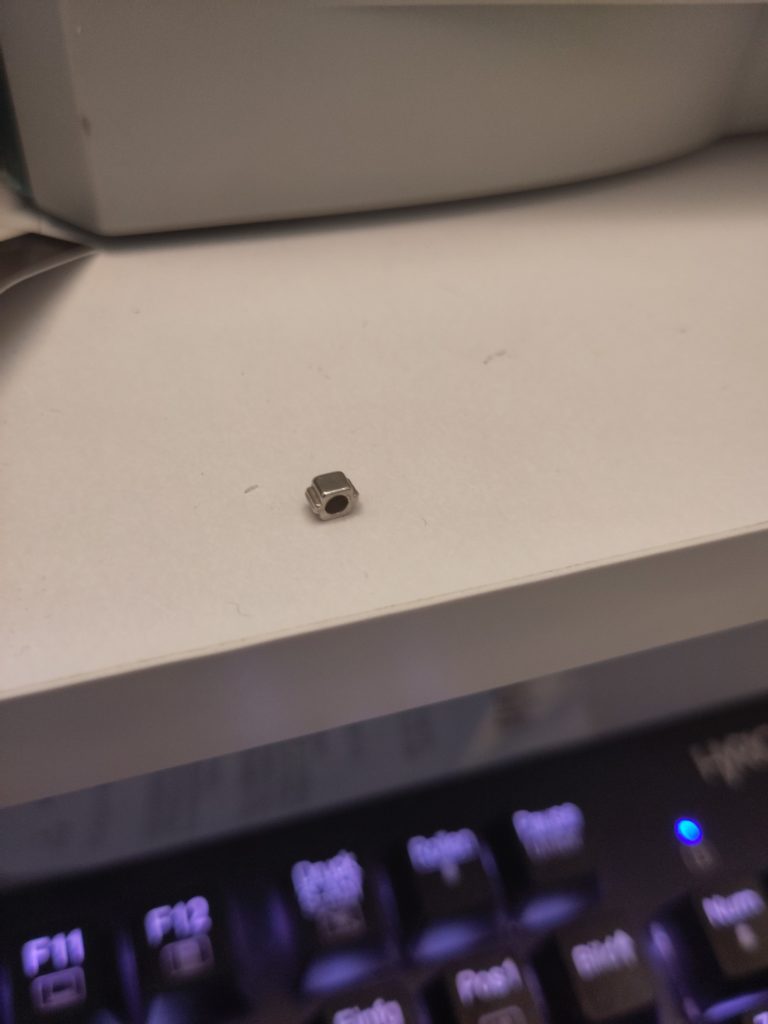
Well, the piston head is obviously a plastic part that has a thin conductive coating. It is a terrible idea in general and nigh impossible to solder. So I took a closer look at the spring. Sadly, my phone can’t photograph the spring: it is just too small. BUT… It has some discoloration that is visible to the naked eye. And the discoloration suspiciously looks like solder. So, someone decided to solder a thin conducting wire to a tiny moving spring. 🤦 No wonder it detached. Such a moving thin solder will always break faster than its better designed neighbors.
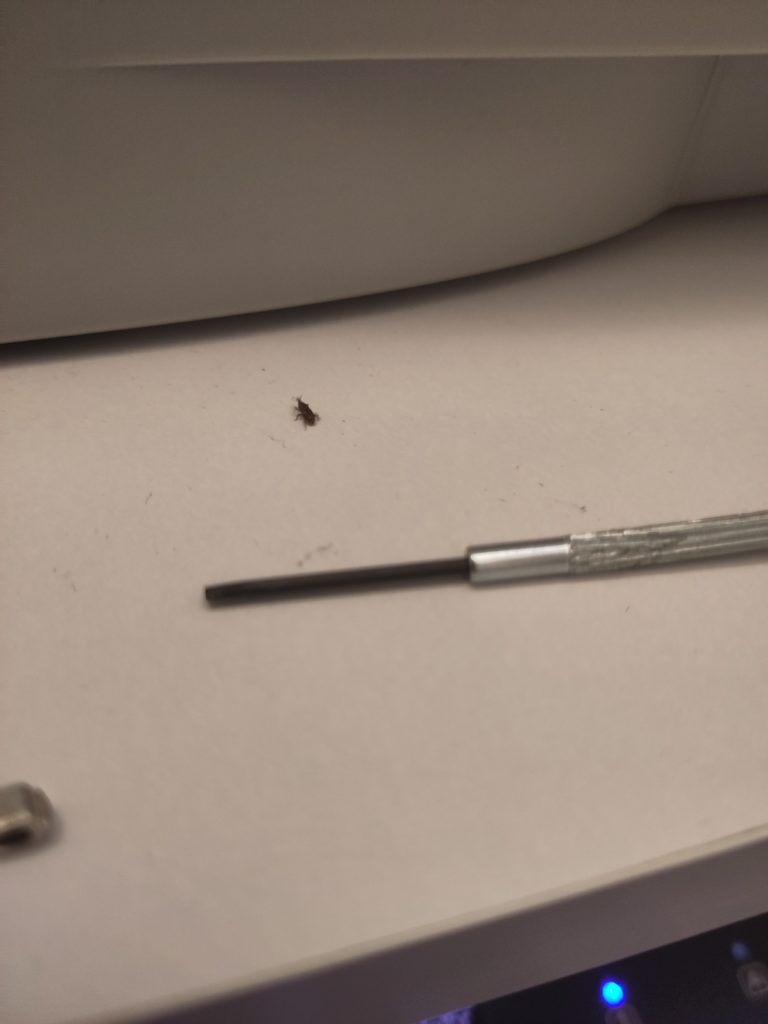
Meanwhile, BEHOLD the tiny friend that decided to drop by my desk. It looks like it’s a kind of weevil. He later disappeared under the printer there.
Now I don’t want to repeat the mistake and solder the wire back onto the spring. It will become detached again. Also, I am not sure if I can do it properly in the first place. I am not a crisp undergrad anymore and I have shaky hands.
Instead, I will drill a hole at the bottom of the contraption, poke the wire in there, and hope that the pressure from the spring pushes it down and holds it in contact.
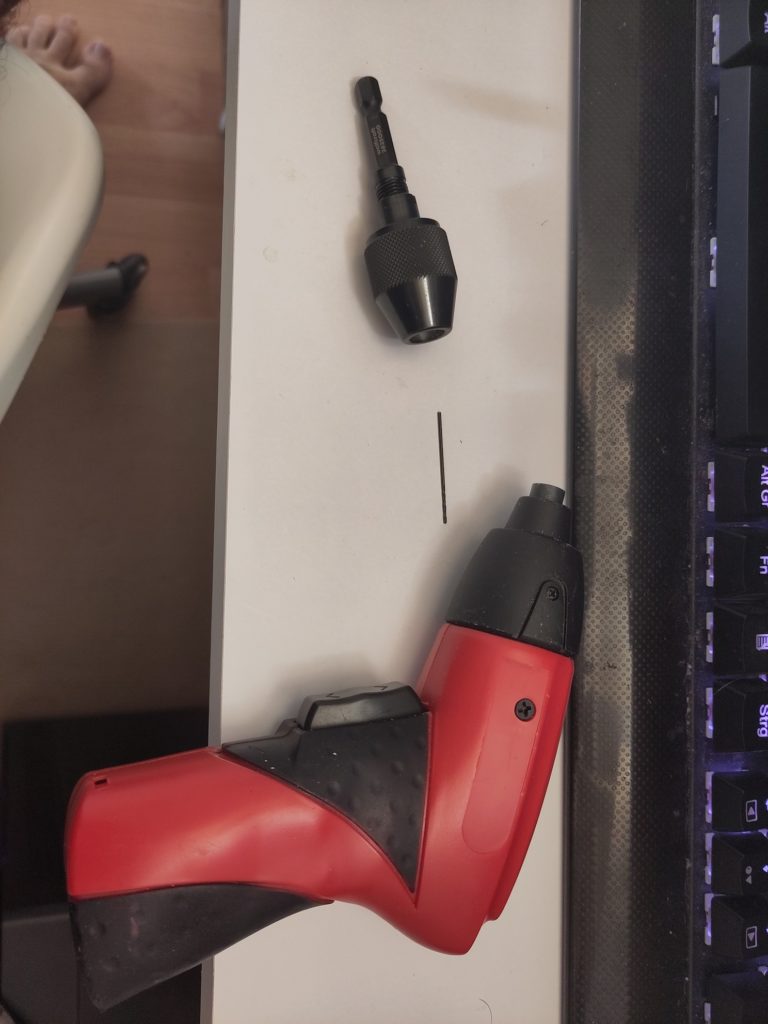
As you can see, I already own a hand-sized drill, a mandrel, and a 1mm drill bit.
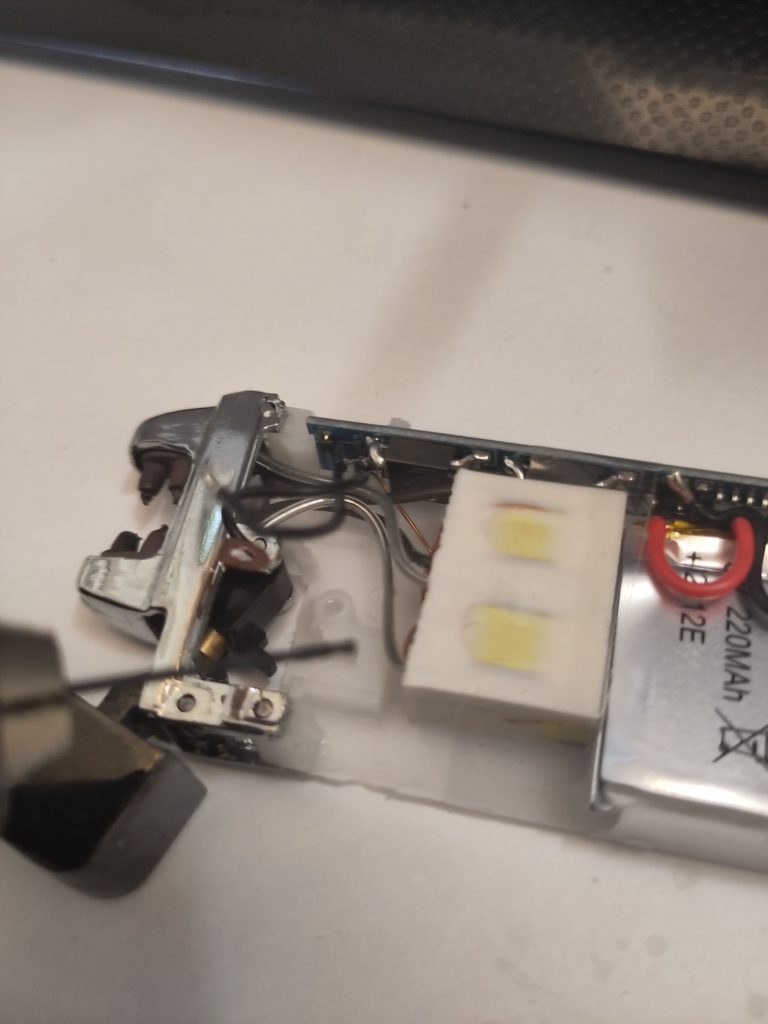
This material (which I assume is polyethylene) shall offer no resistance to my mighty drill bit!!!
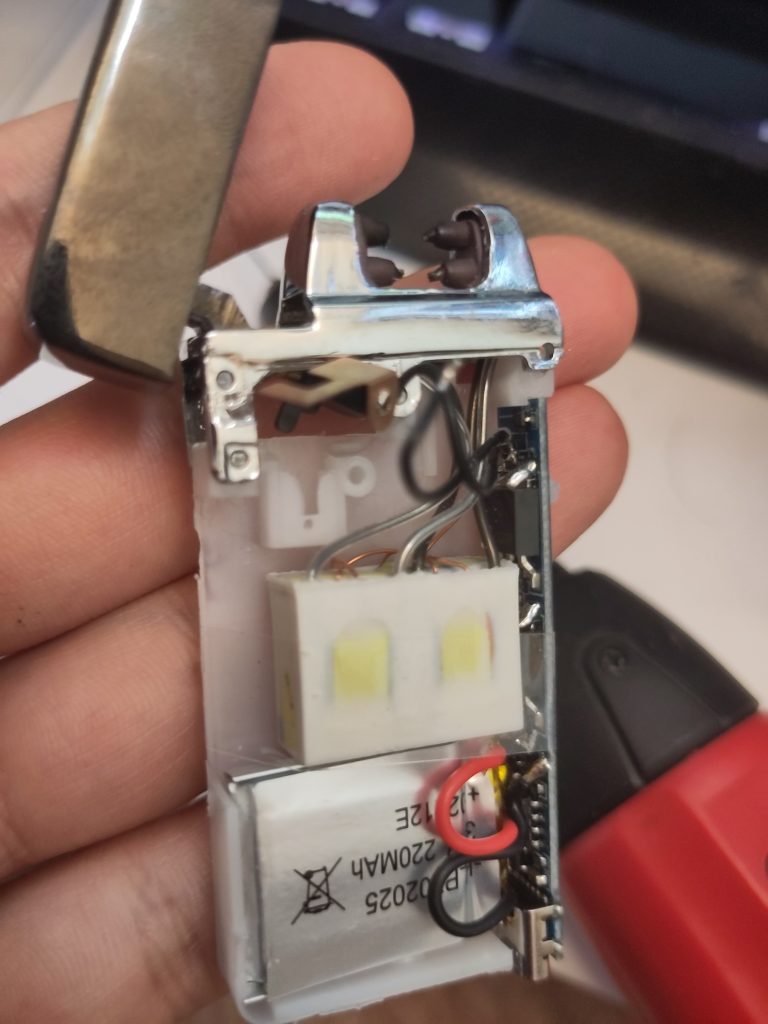
I was afraid for a second that maybe the mighty drill bit was too mighty, and I would just destroy that pocket, but it actually turned out OK, as seen in the picture above. I should have drilled a bit lower; I’ll keep it in mind for the next time this thing decides to break down.
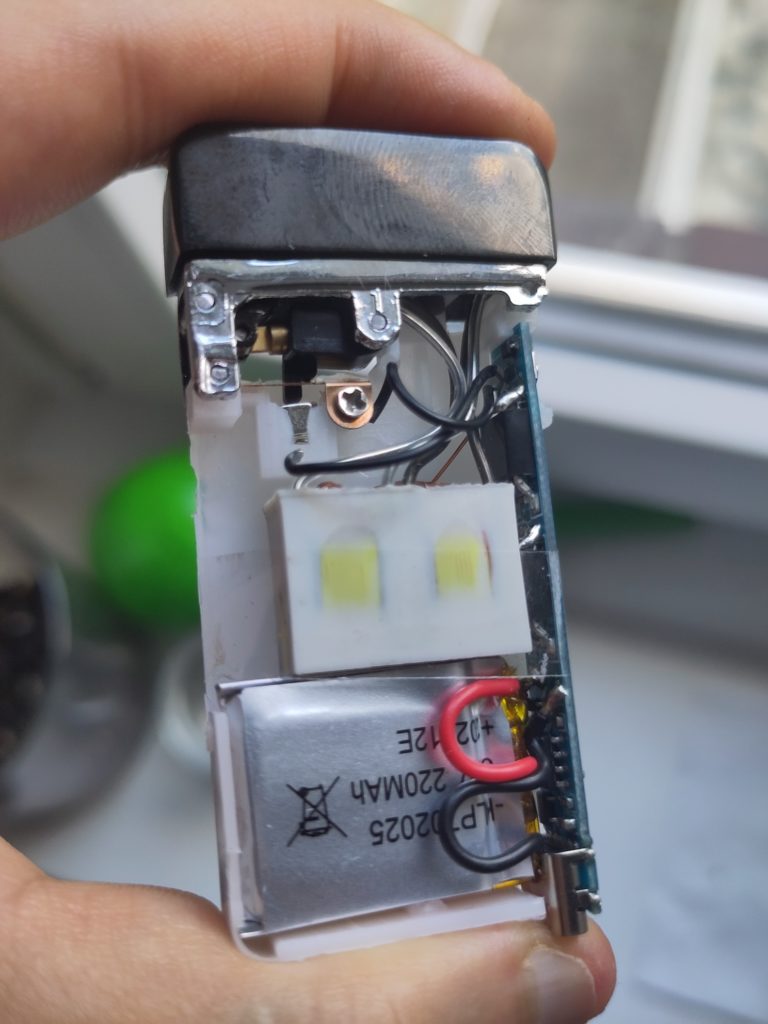
So, I poked the wire inside, reassembled the contraption as well as I could, and it looks like a solid OK.
This is also how I mostly go about troubleshooting projects for clients: make some investigations, invent some trial and error, rely on first principles to guide me through ambiguity, and keep costs and feasibility in mind when coming up with a hack solution.
It also works now.
I’m really glad that I could save the 10€ space-age lighter without pulling out a soldering iron.
Why?
Because I already had a hand-drill, hex-mandrel and a 1-mm drillbit to do it.